Small Boats - Geelong
Starting out with a sketch
Life for this boat started on a piece of paper. After much sketching, rubbing out and redrawing, I moved onto the computer to model the hull in 3D — a proa is an asymmetric beast and getting the outrigger geometry right took a few passes.
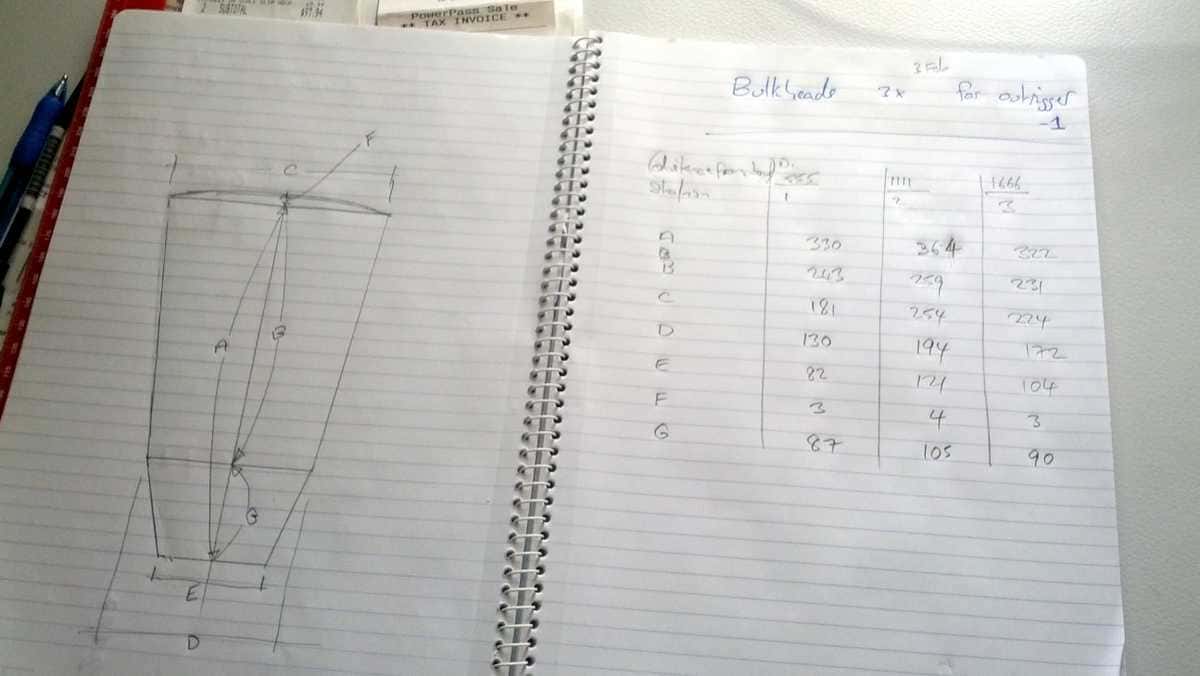
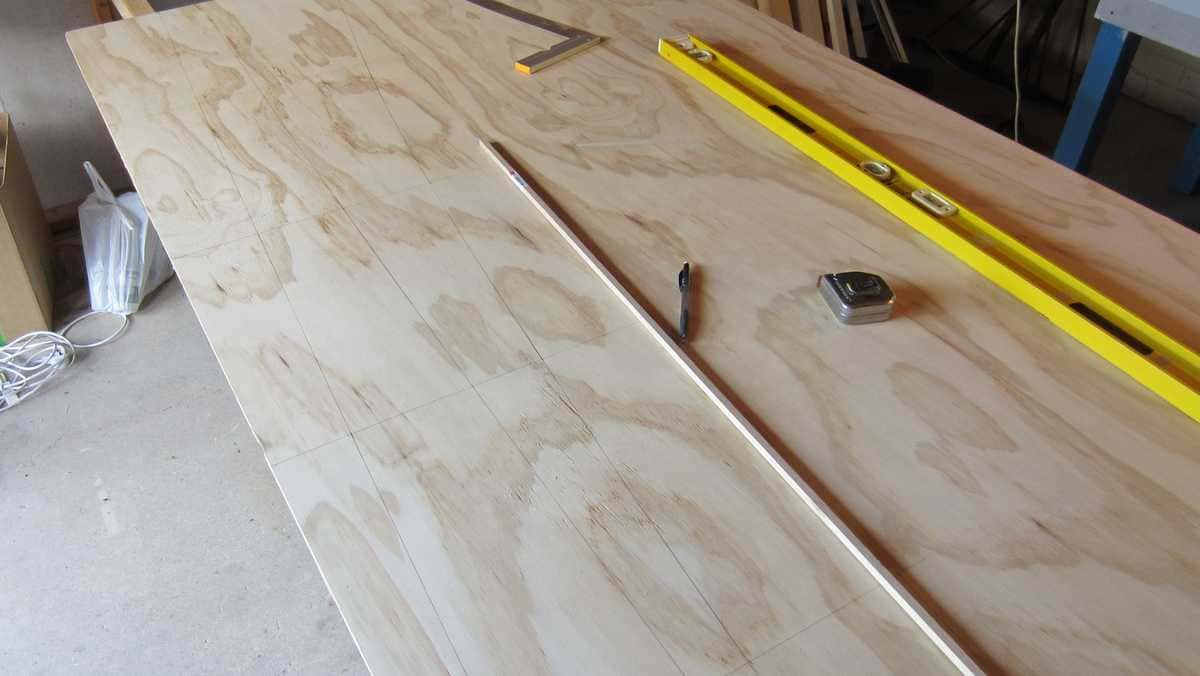
Marking out the wood
Once I was happy with the 3D model, I unfolded each hull panel and printed the dimensions. Then it was straight onto the ply with a pencil and a long batten.
Assembling the pieces
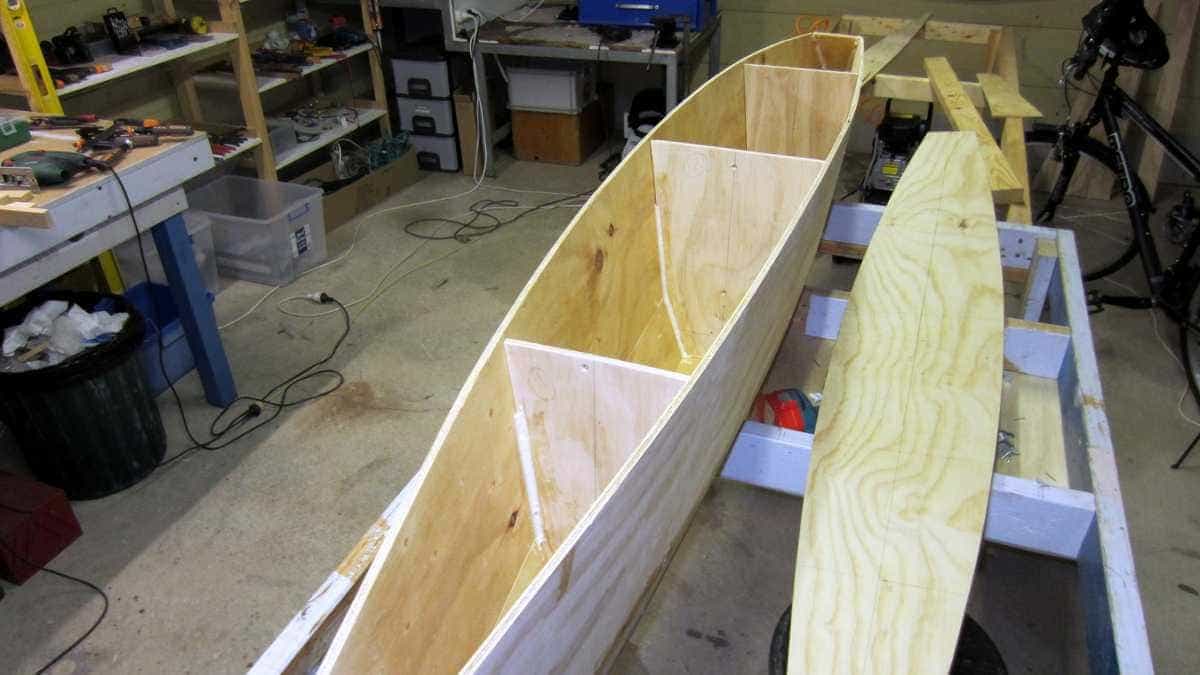
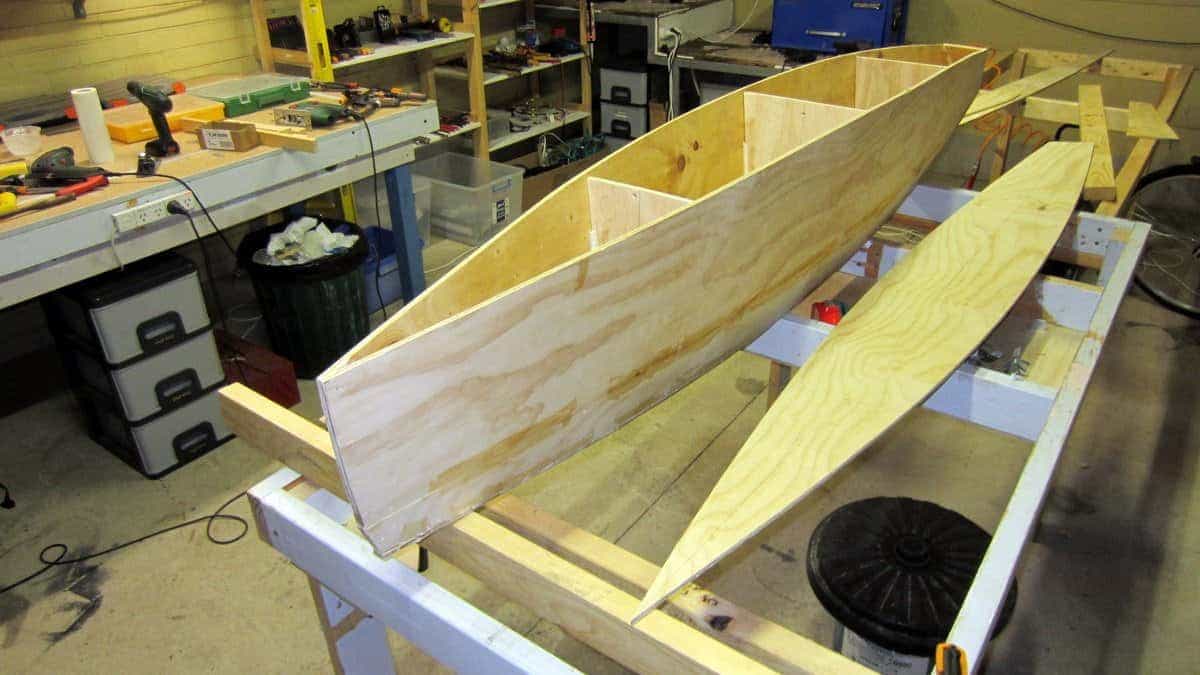
This boat is almost as long as your car at 4.7m (15.4 ft), so I needed to scarf two sheets of ply together before cutting the hull panels. A few zip ties held everything in position while the epoxy kicked.
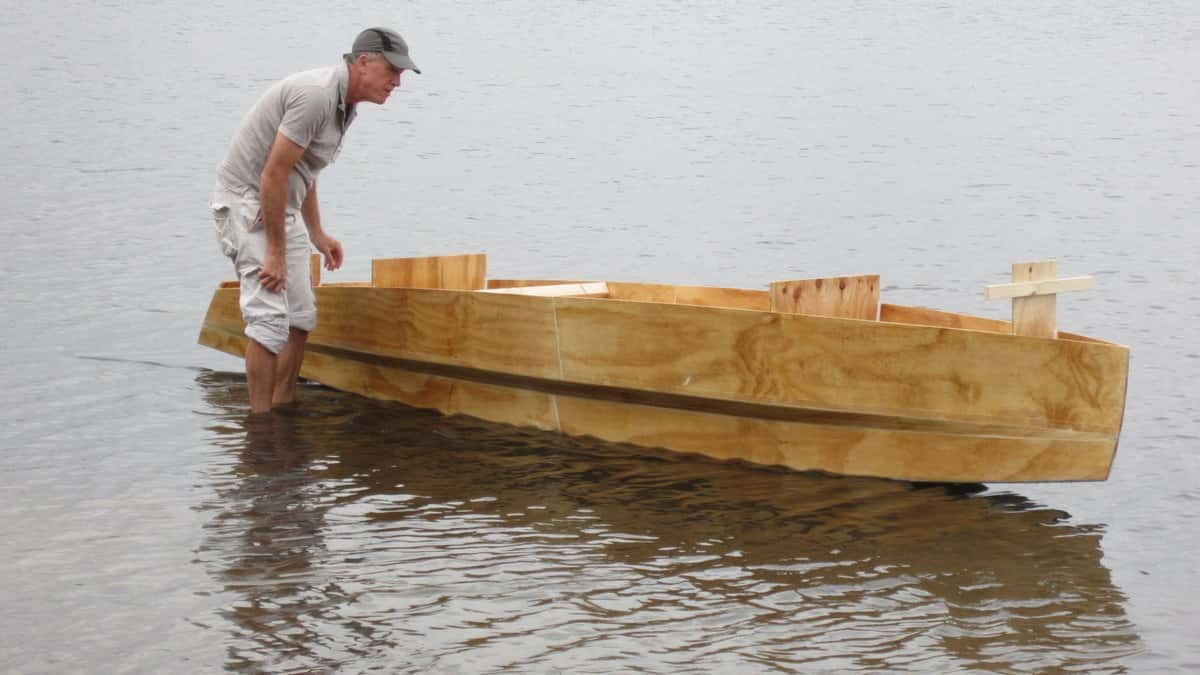
First time in the water
As soon as the epoxy had dried, I was off to the water to see it float. It sat on the water rather than in it. I got in, but without the outrigger it was very unstable!
Building the outrigger
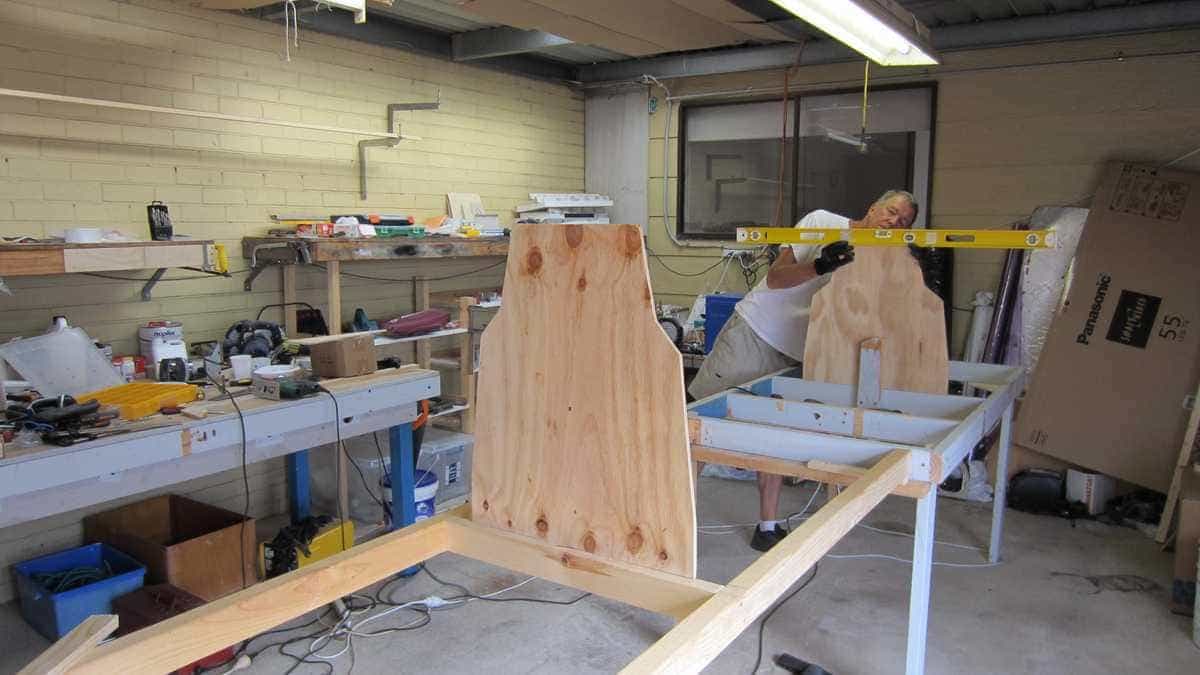
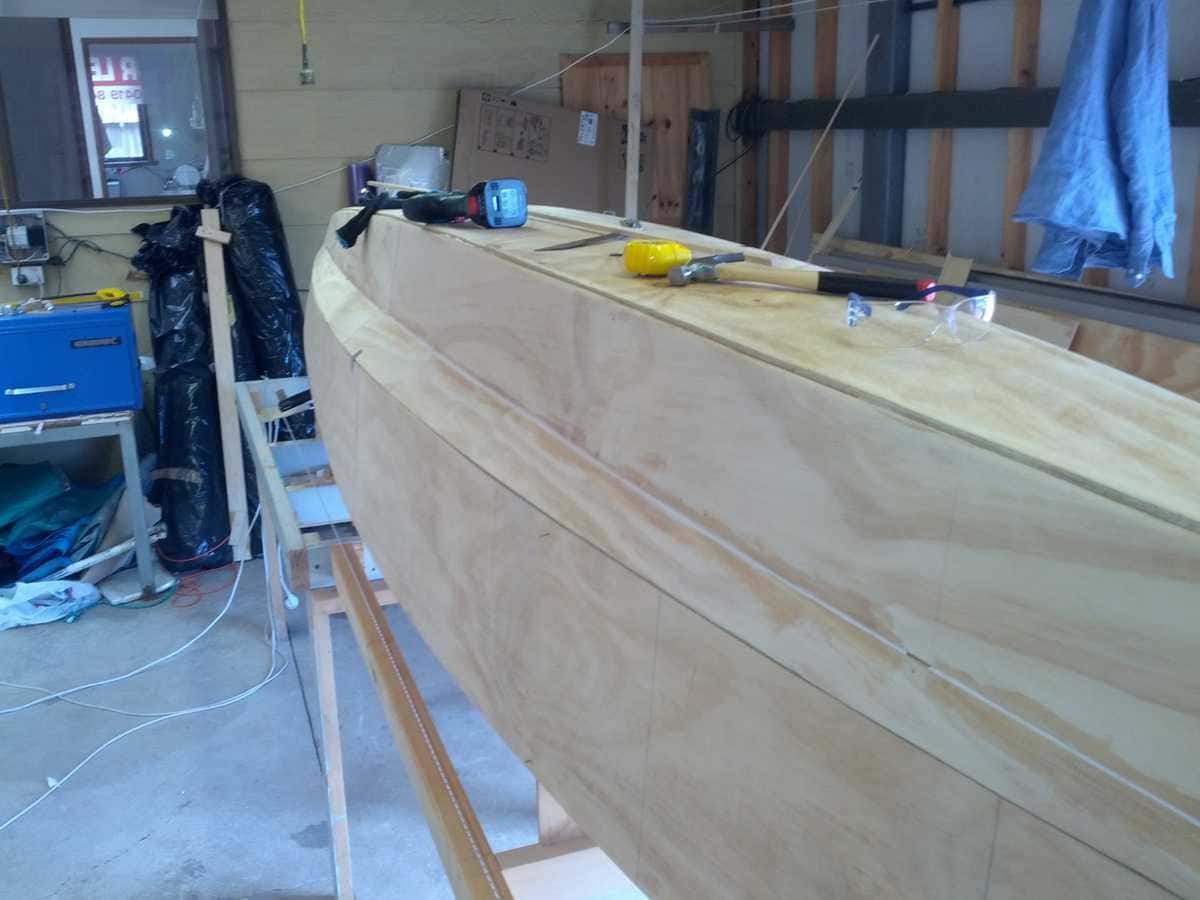
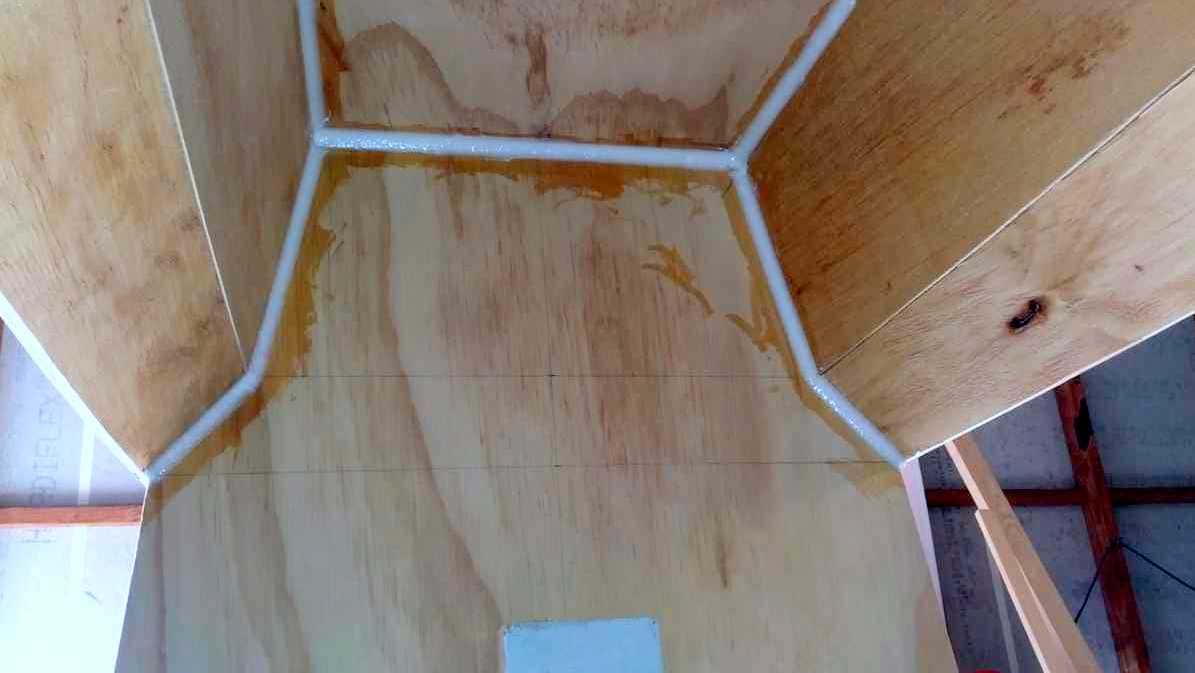
The outrigger hull is built the same way as the main hull — stitch, glue, tape. The amas (outrigger booms) connect the two and lock the whole thing into a stiff structure once they're bonded in place.
To the water - for real this time
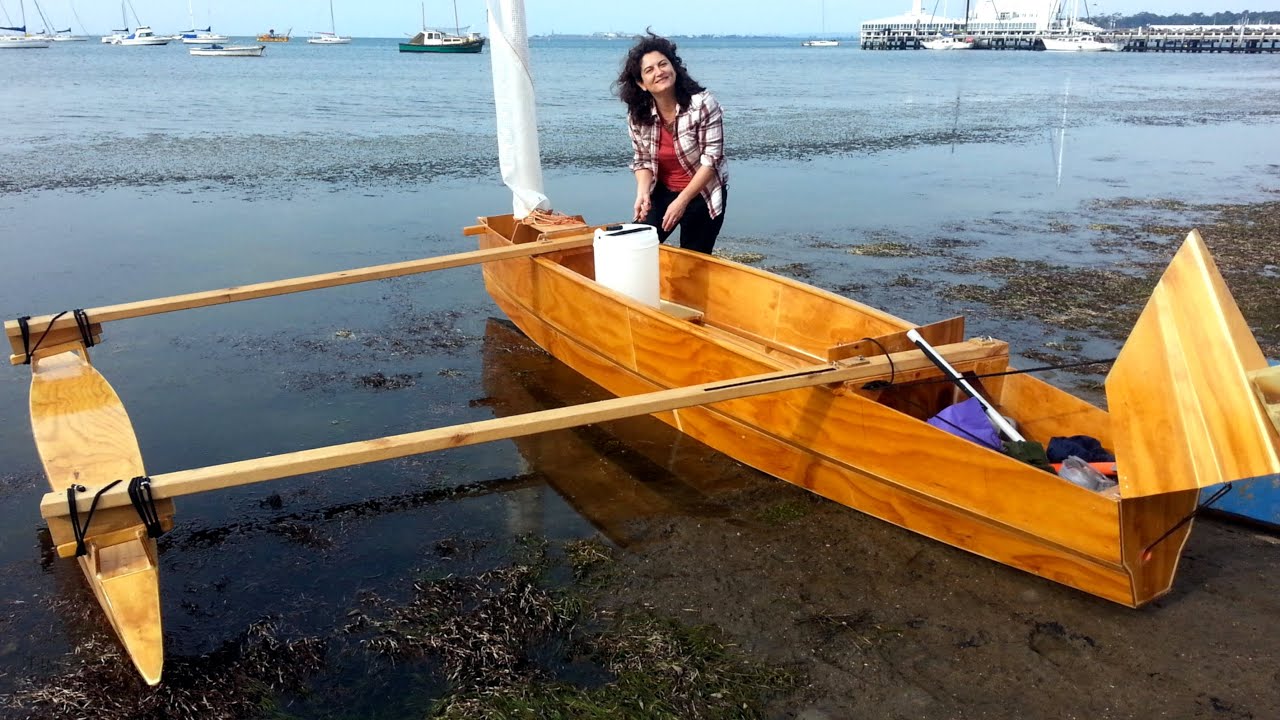
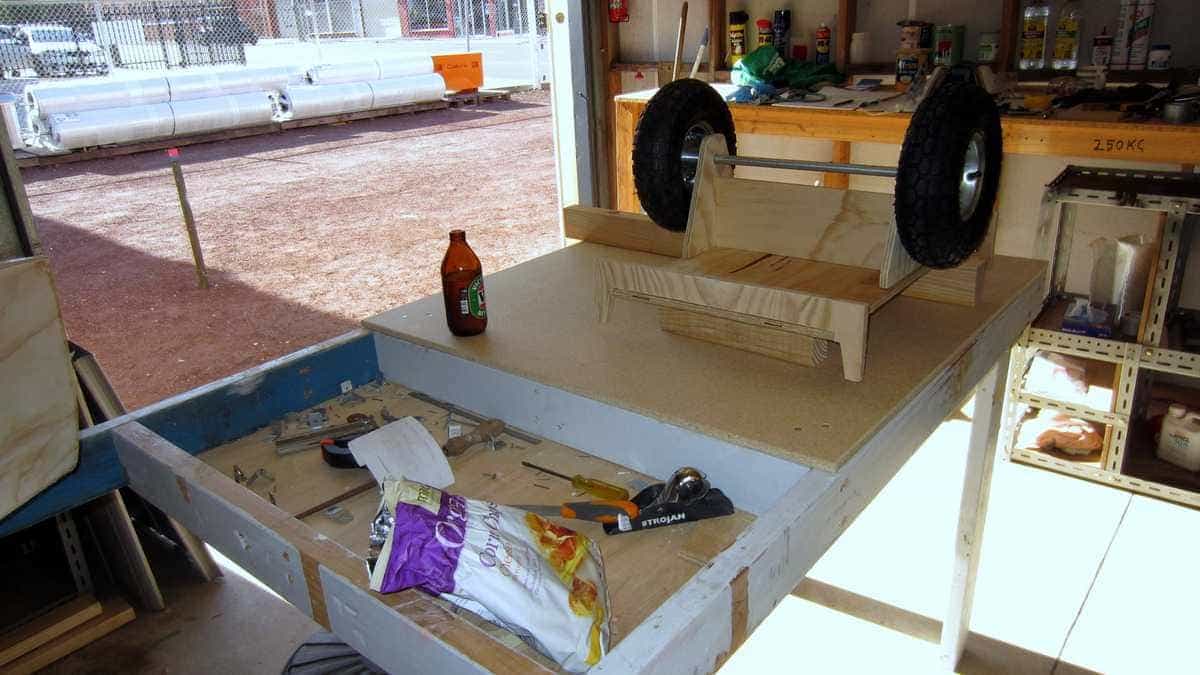
I lived only 1.5km (1 mile) from where I could launch the boat, so I walked her to the water. It is surprisingly easy to pull, using a homemade wooden trolley with cheap inflatable wheels. Once at the water's edge, it took about 10 minutes to rig and we were sailing.
The building trolley
A simple but effective solution for transporting the boat. The wooden trolley with inflatable wheels makes it easy to move the boat from home to water, even over rough terrain.
Build and Sail
Sailing doesn't get much cheaper than this. The outrigger design provides excellent performance and stability, making it perfect for coastal cruising and day sailing.
Build GeelongConstruction details
The construction process involved careful attention to detail, from the initial hull assembly to the final finishing touches. Each step was documented to ensure quality and repeatability.
Finishing touches
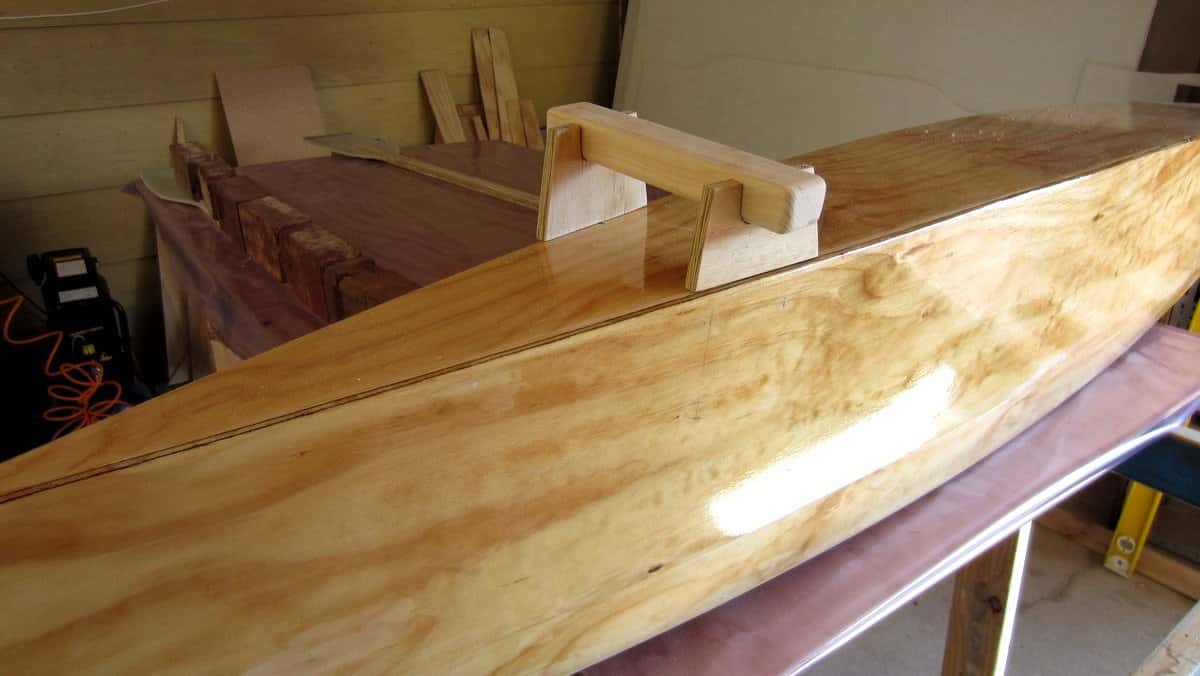
Sanding and finishing the hull is crucial for both appearance and performance. The smooth surface reduces drag and makes the boat easier to maintain.
The completed boat
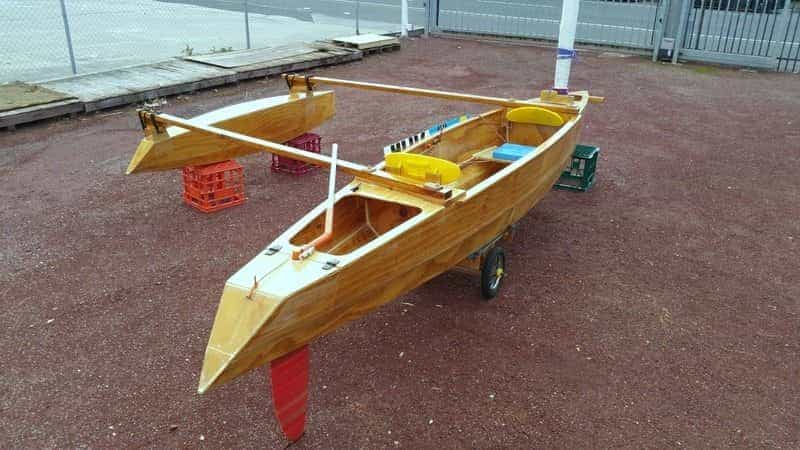
The finished boat represents months of careful work and design refinement. The result is a seaworthy, efficient sailing vessel that can be easily transported and launched.
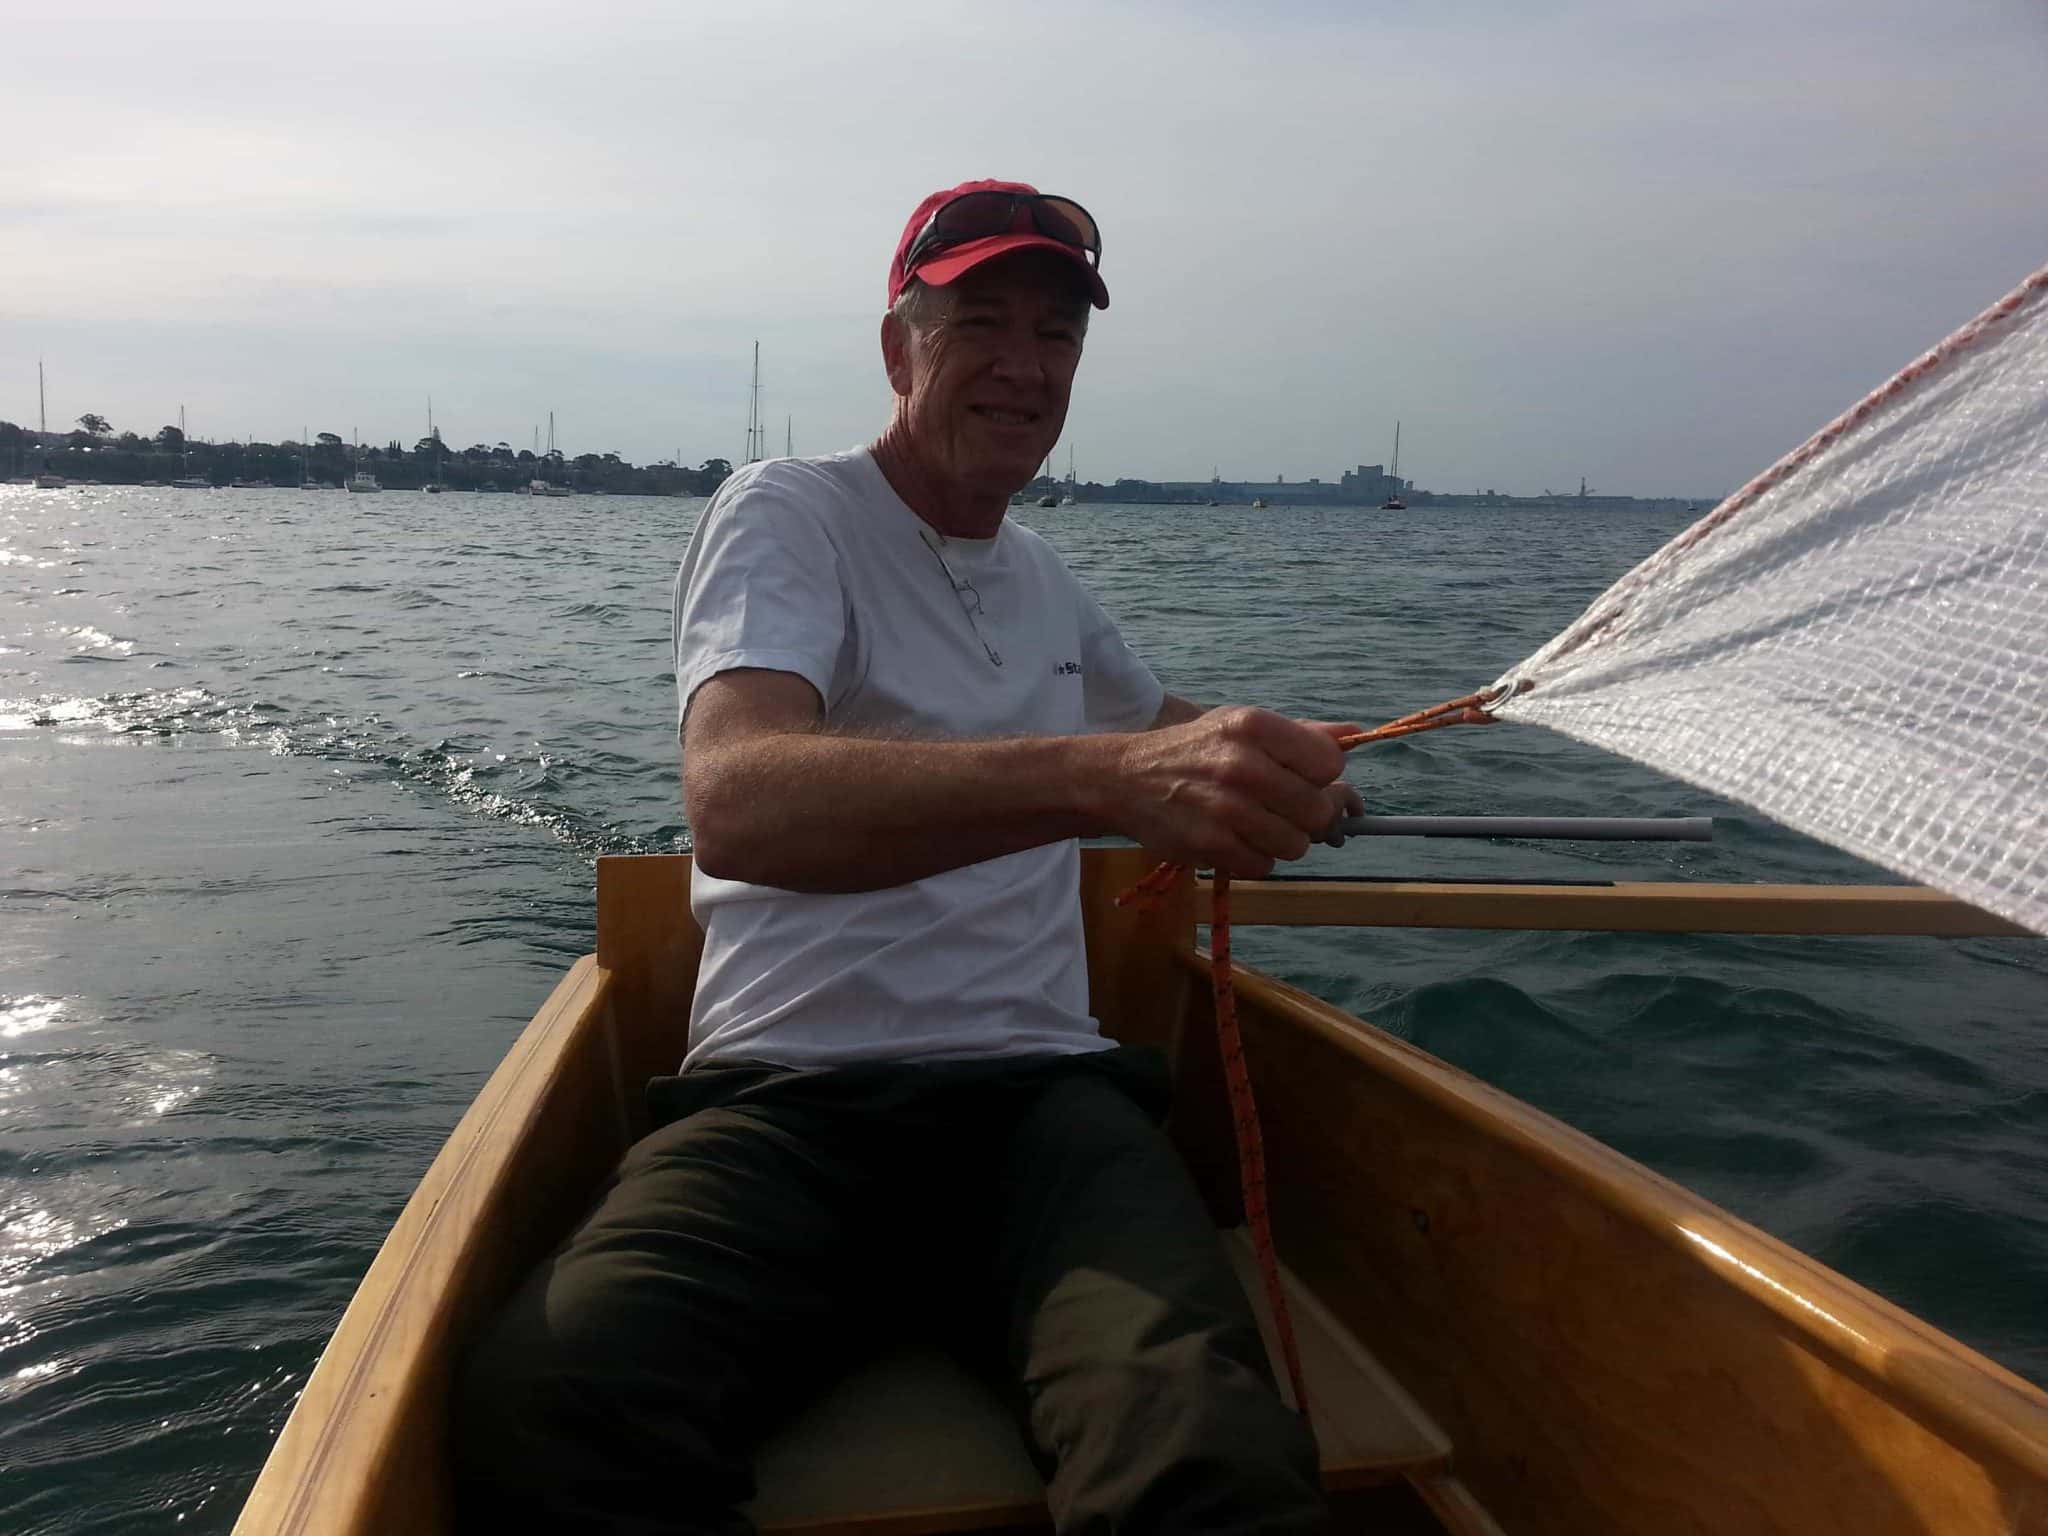
Ready for adventure
The Little Proa is now ready for countless hours of sailing enjoyment. Its simple design and reliable construction make it perfect for exploring coastal waters and enjoying the freedom of sailing.